About this Project
Inspiration
Amateur Radio has been a long-time passion of mine. I’ve been a licensed operator since 2014, and spent lots of time on the air—from weather reporting nets to contact competitions (like ARRL Field Day). Having spent so much time around radios, it had been a long-term goal of mine to build one for myself.
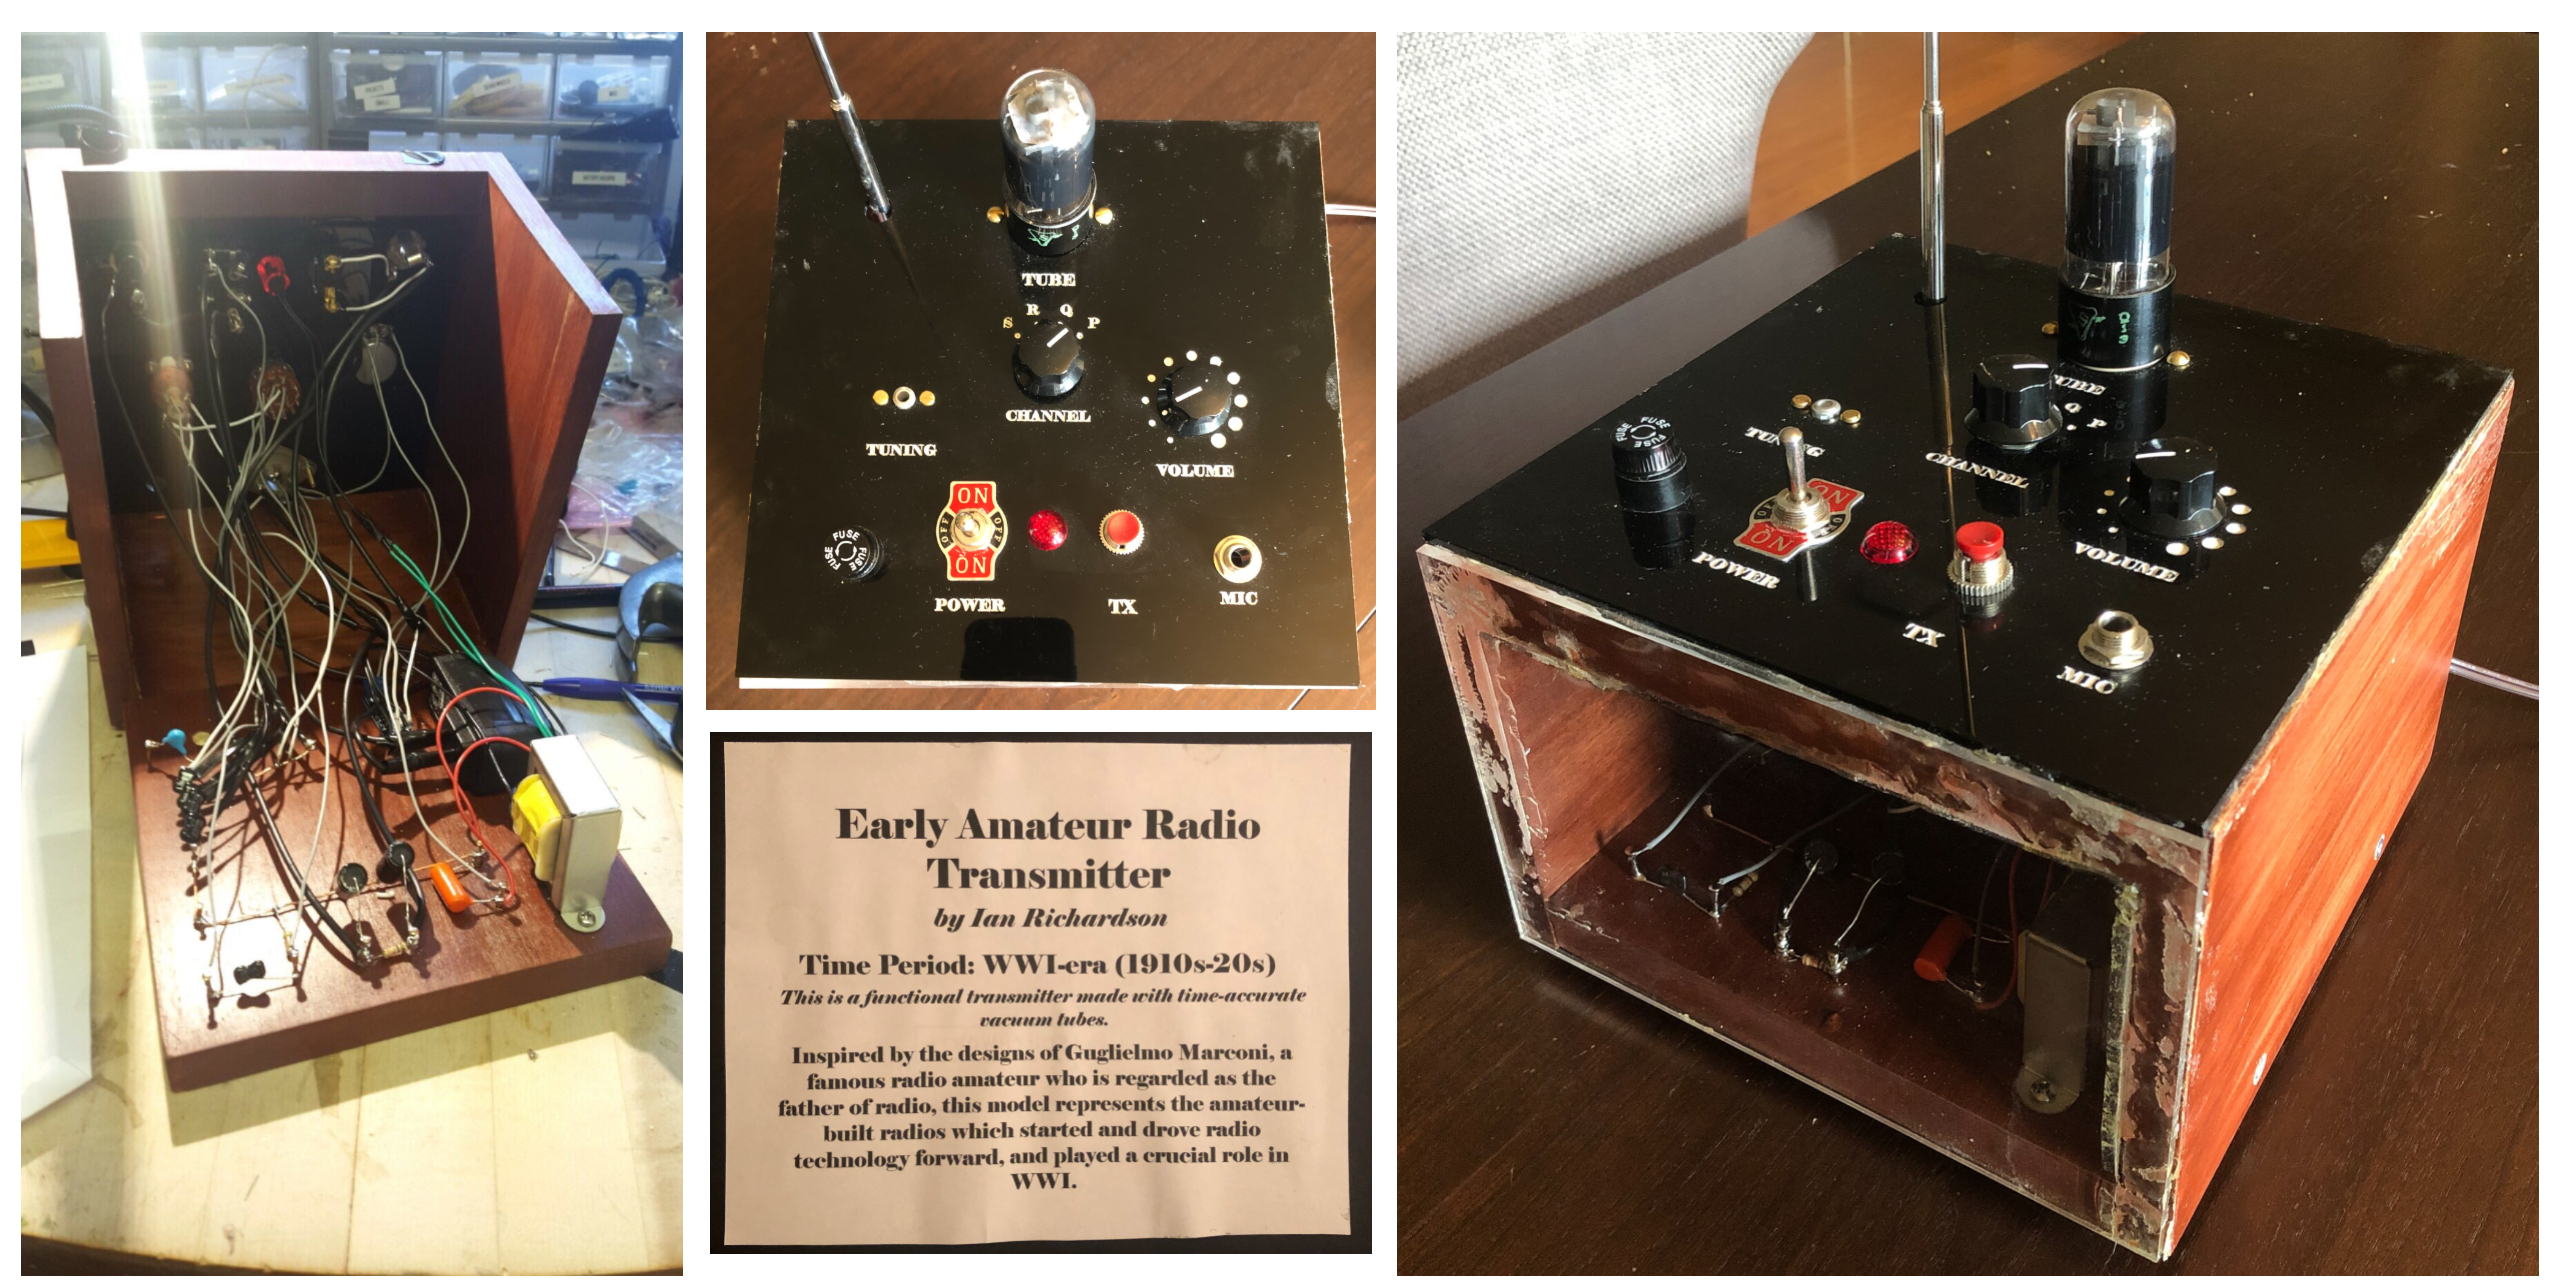
This project was submitted as a final project for a course I took on Western Civilization. It represents the accomplishments of Guglielmo Marconi and other contemporary radio amateurs that pushed forward early radio technology after the turn of the 20th century. As a radio amatuer and tinkerer myself, I was inspired by this history of hobbyist engineers developing the technology that would come to be the foundation of our modern wireless lives. This radio transmitter is built in the style of these early hobbyist designs, using time accurate controls and (mostly) authentic analog and vacuum tube technology.
The Design
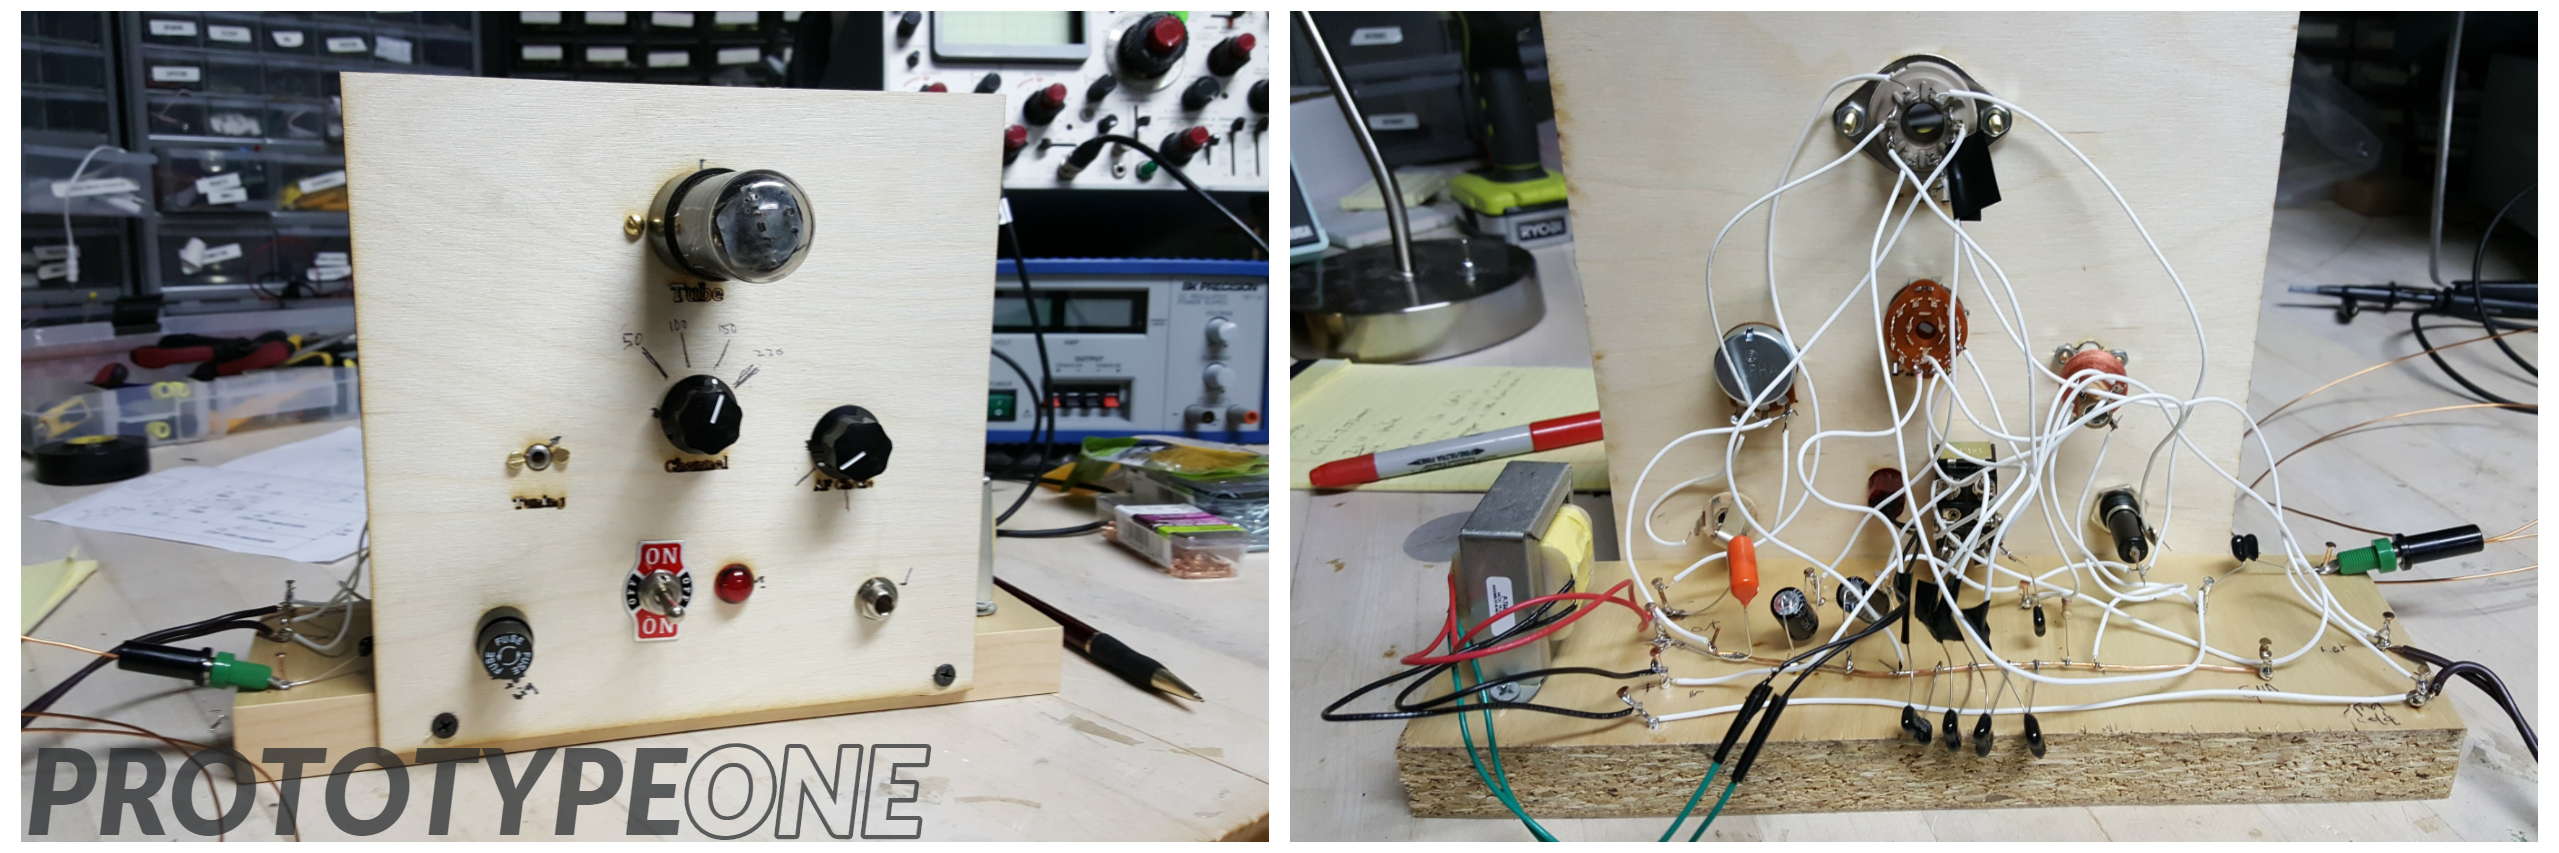
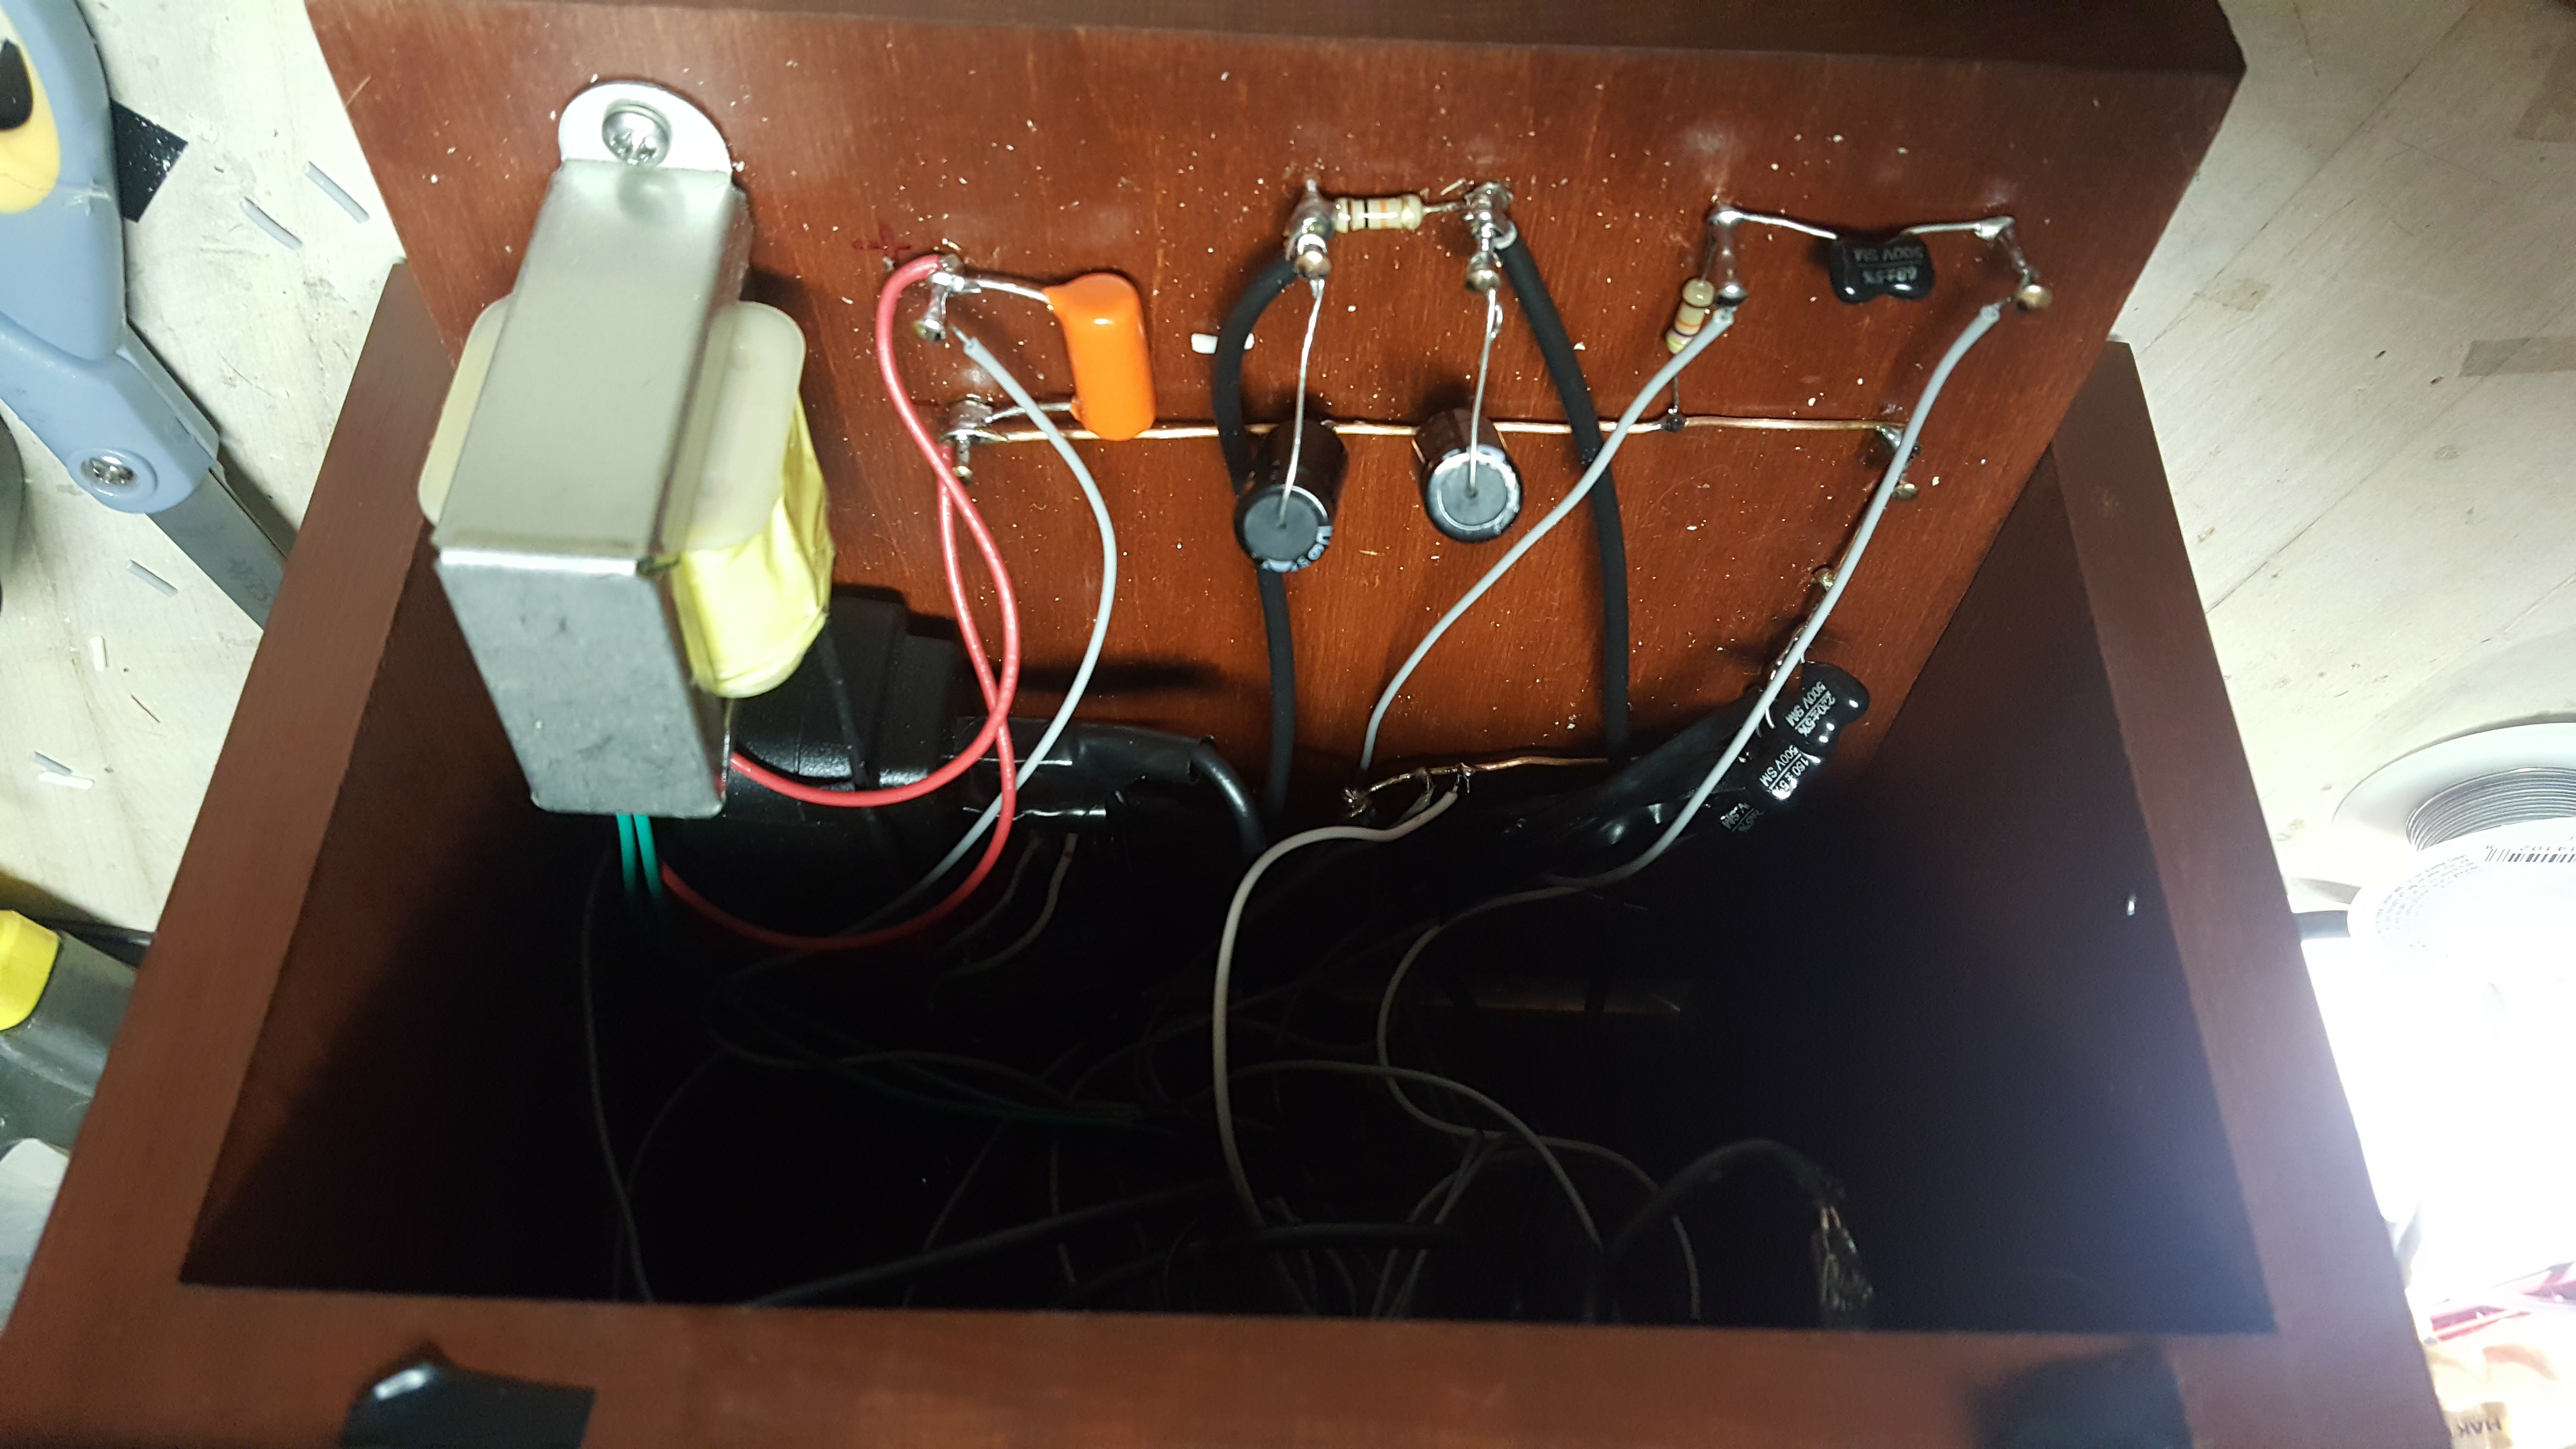
This was one of my first large analog circuitry projects, so I started by studying AM tube radio designs online. After reading through probably a hundred designs, I found this old AM tube transmitter design made by Walter Heskes and Philip Nelson. It uses a single pentode-triode tube as a rectifier, oscillator, and modulator in one, simplifying construction. I modified this design to include a small preamplifier at the digital input, and added a rotary knob including multiple gradations of the C6 capacitor for tuning (and labeled these values different letters that matched historic British channel names).
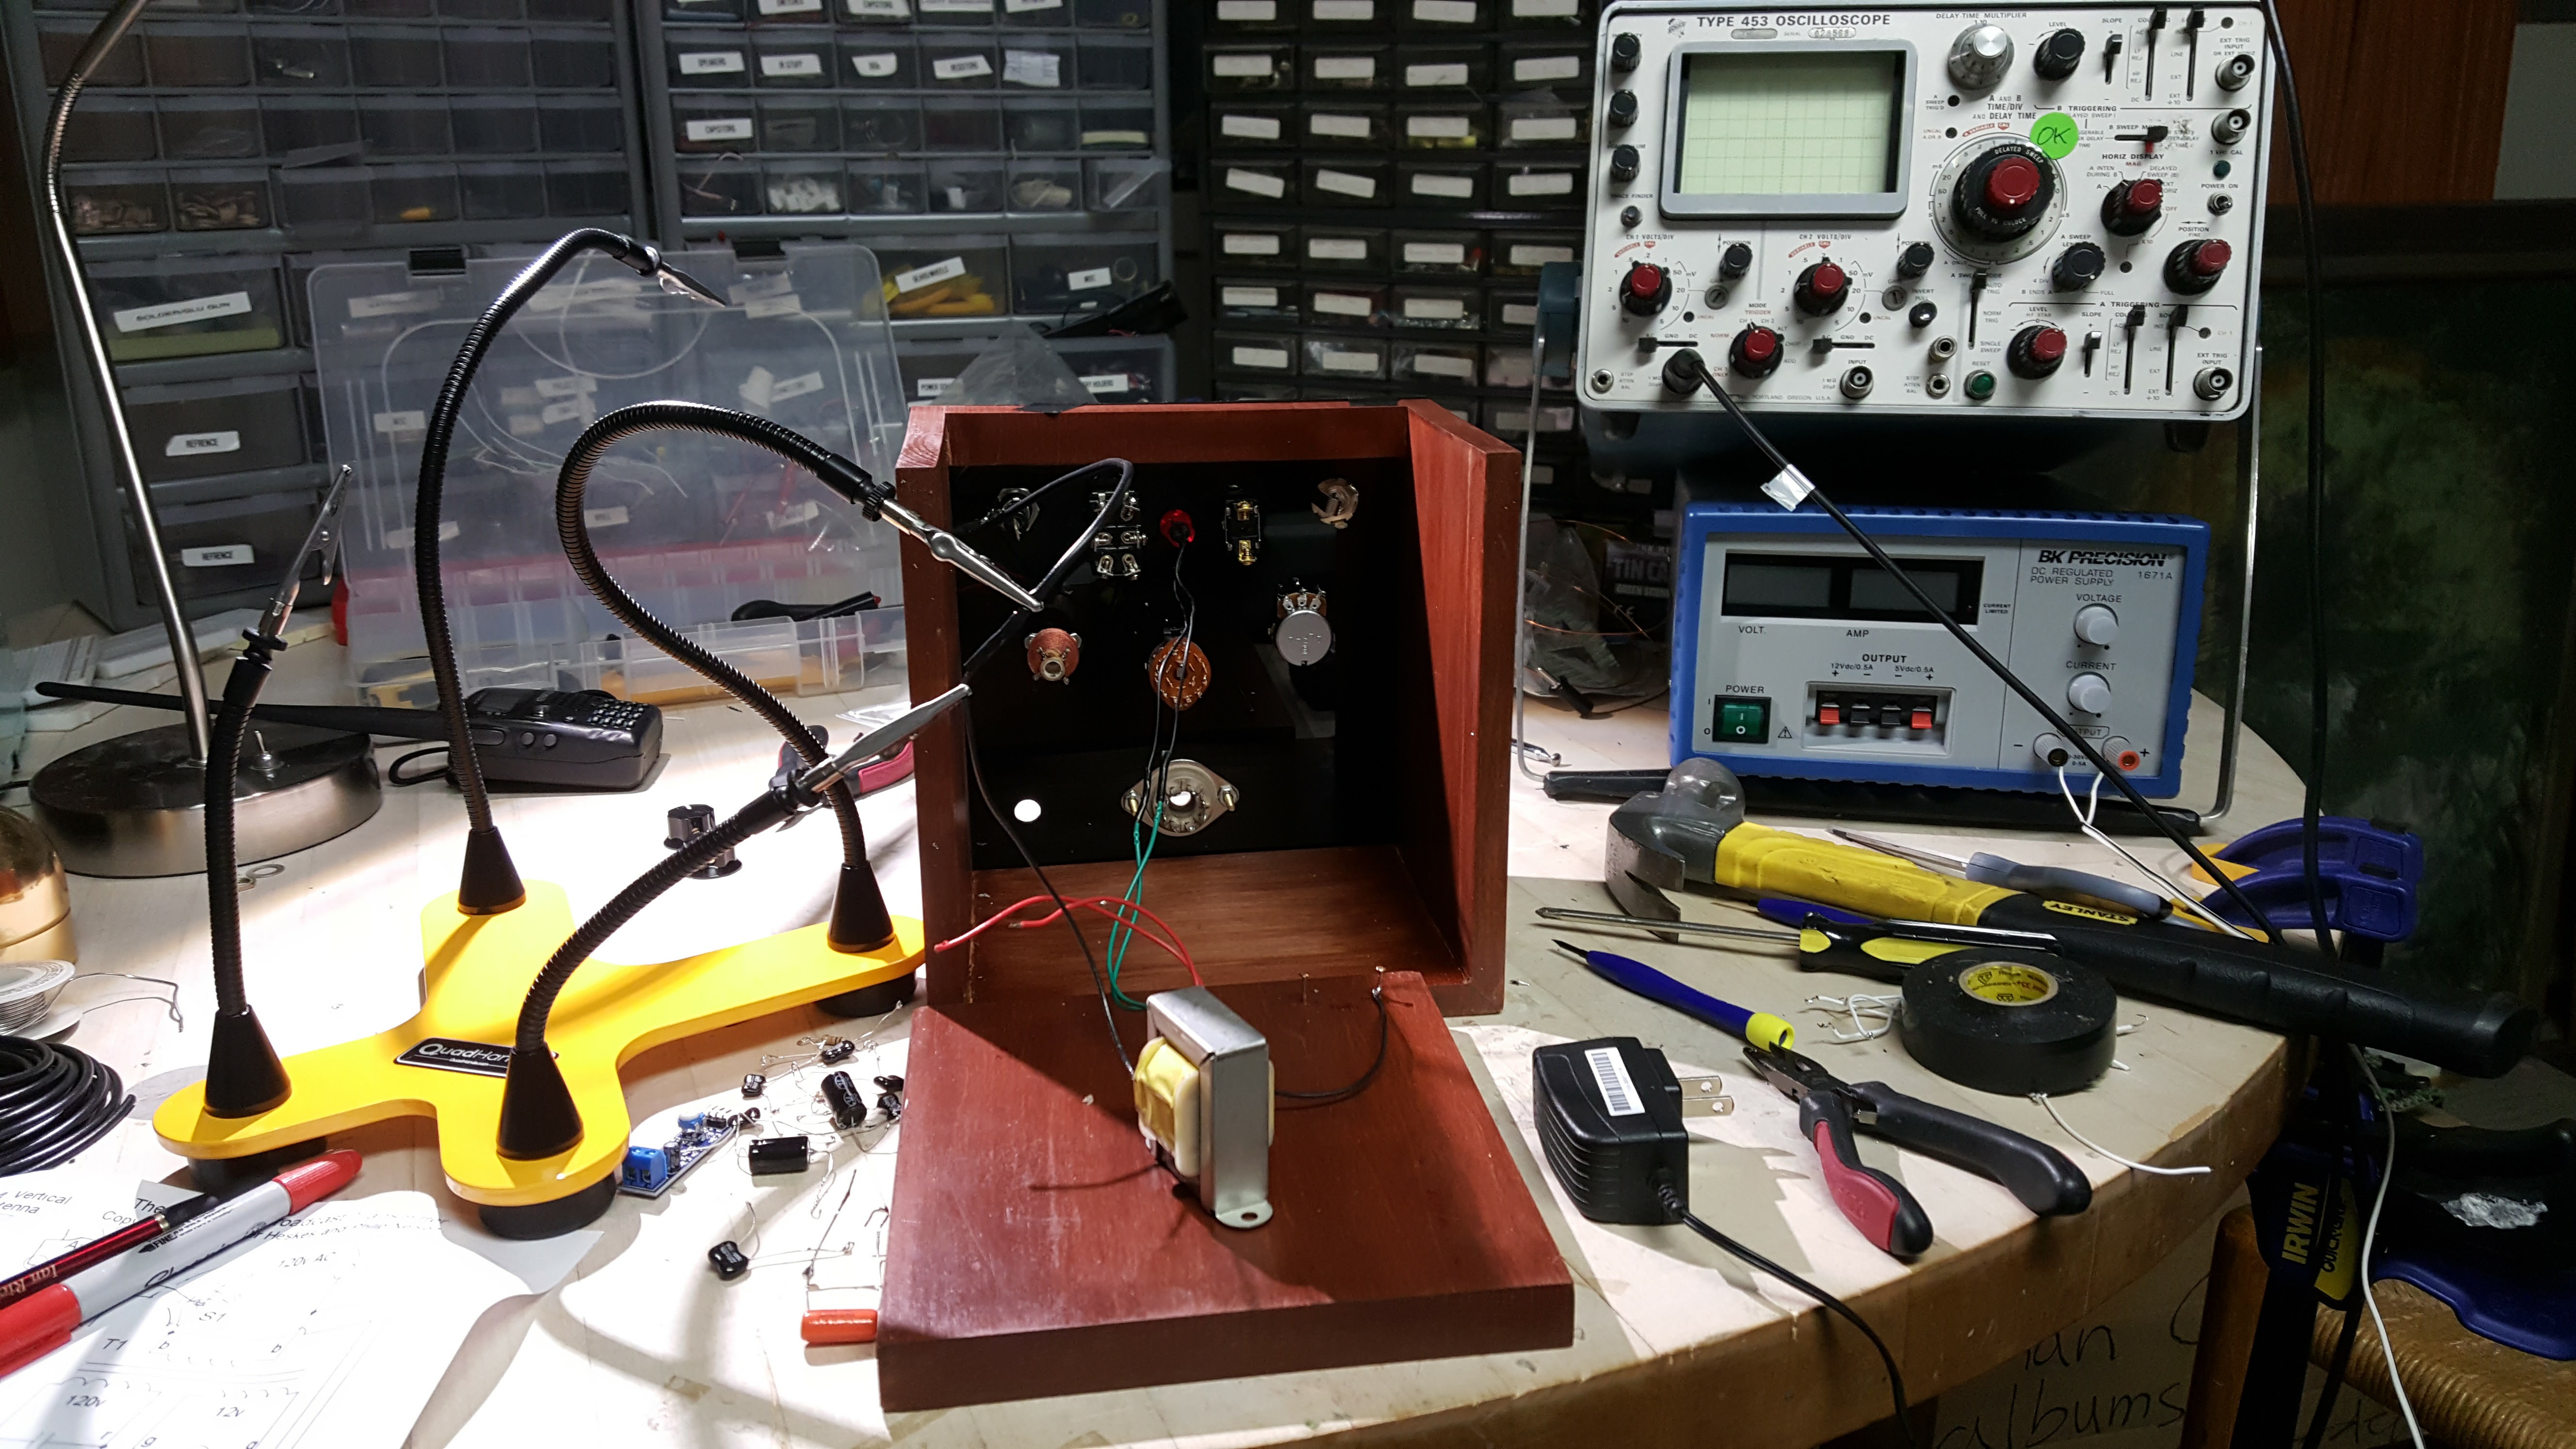
Construction
Before building the into the final enclosure, I wanted to first test the design on a breadboard. I was inspired to use something close to a real classic “breadboard,” hammering nails as wire anchors into a block of wood. Here’s the first prototype, which I used to develop my alterations to Heskes’ and Nelson’s design.
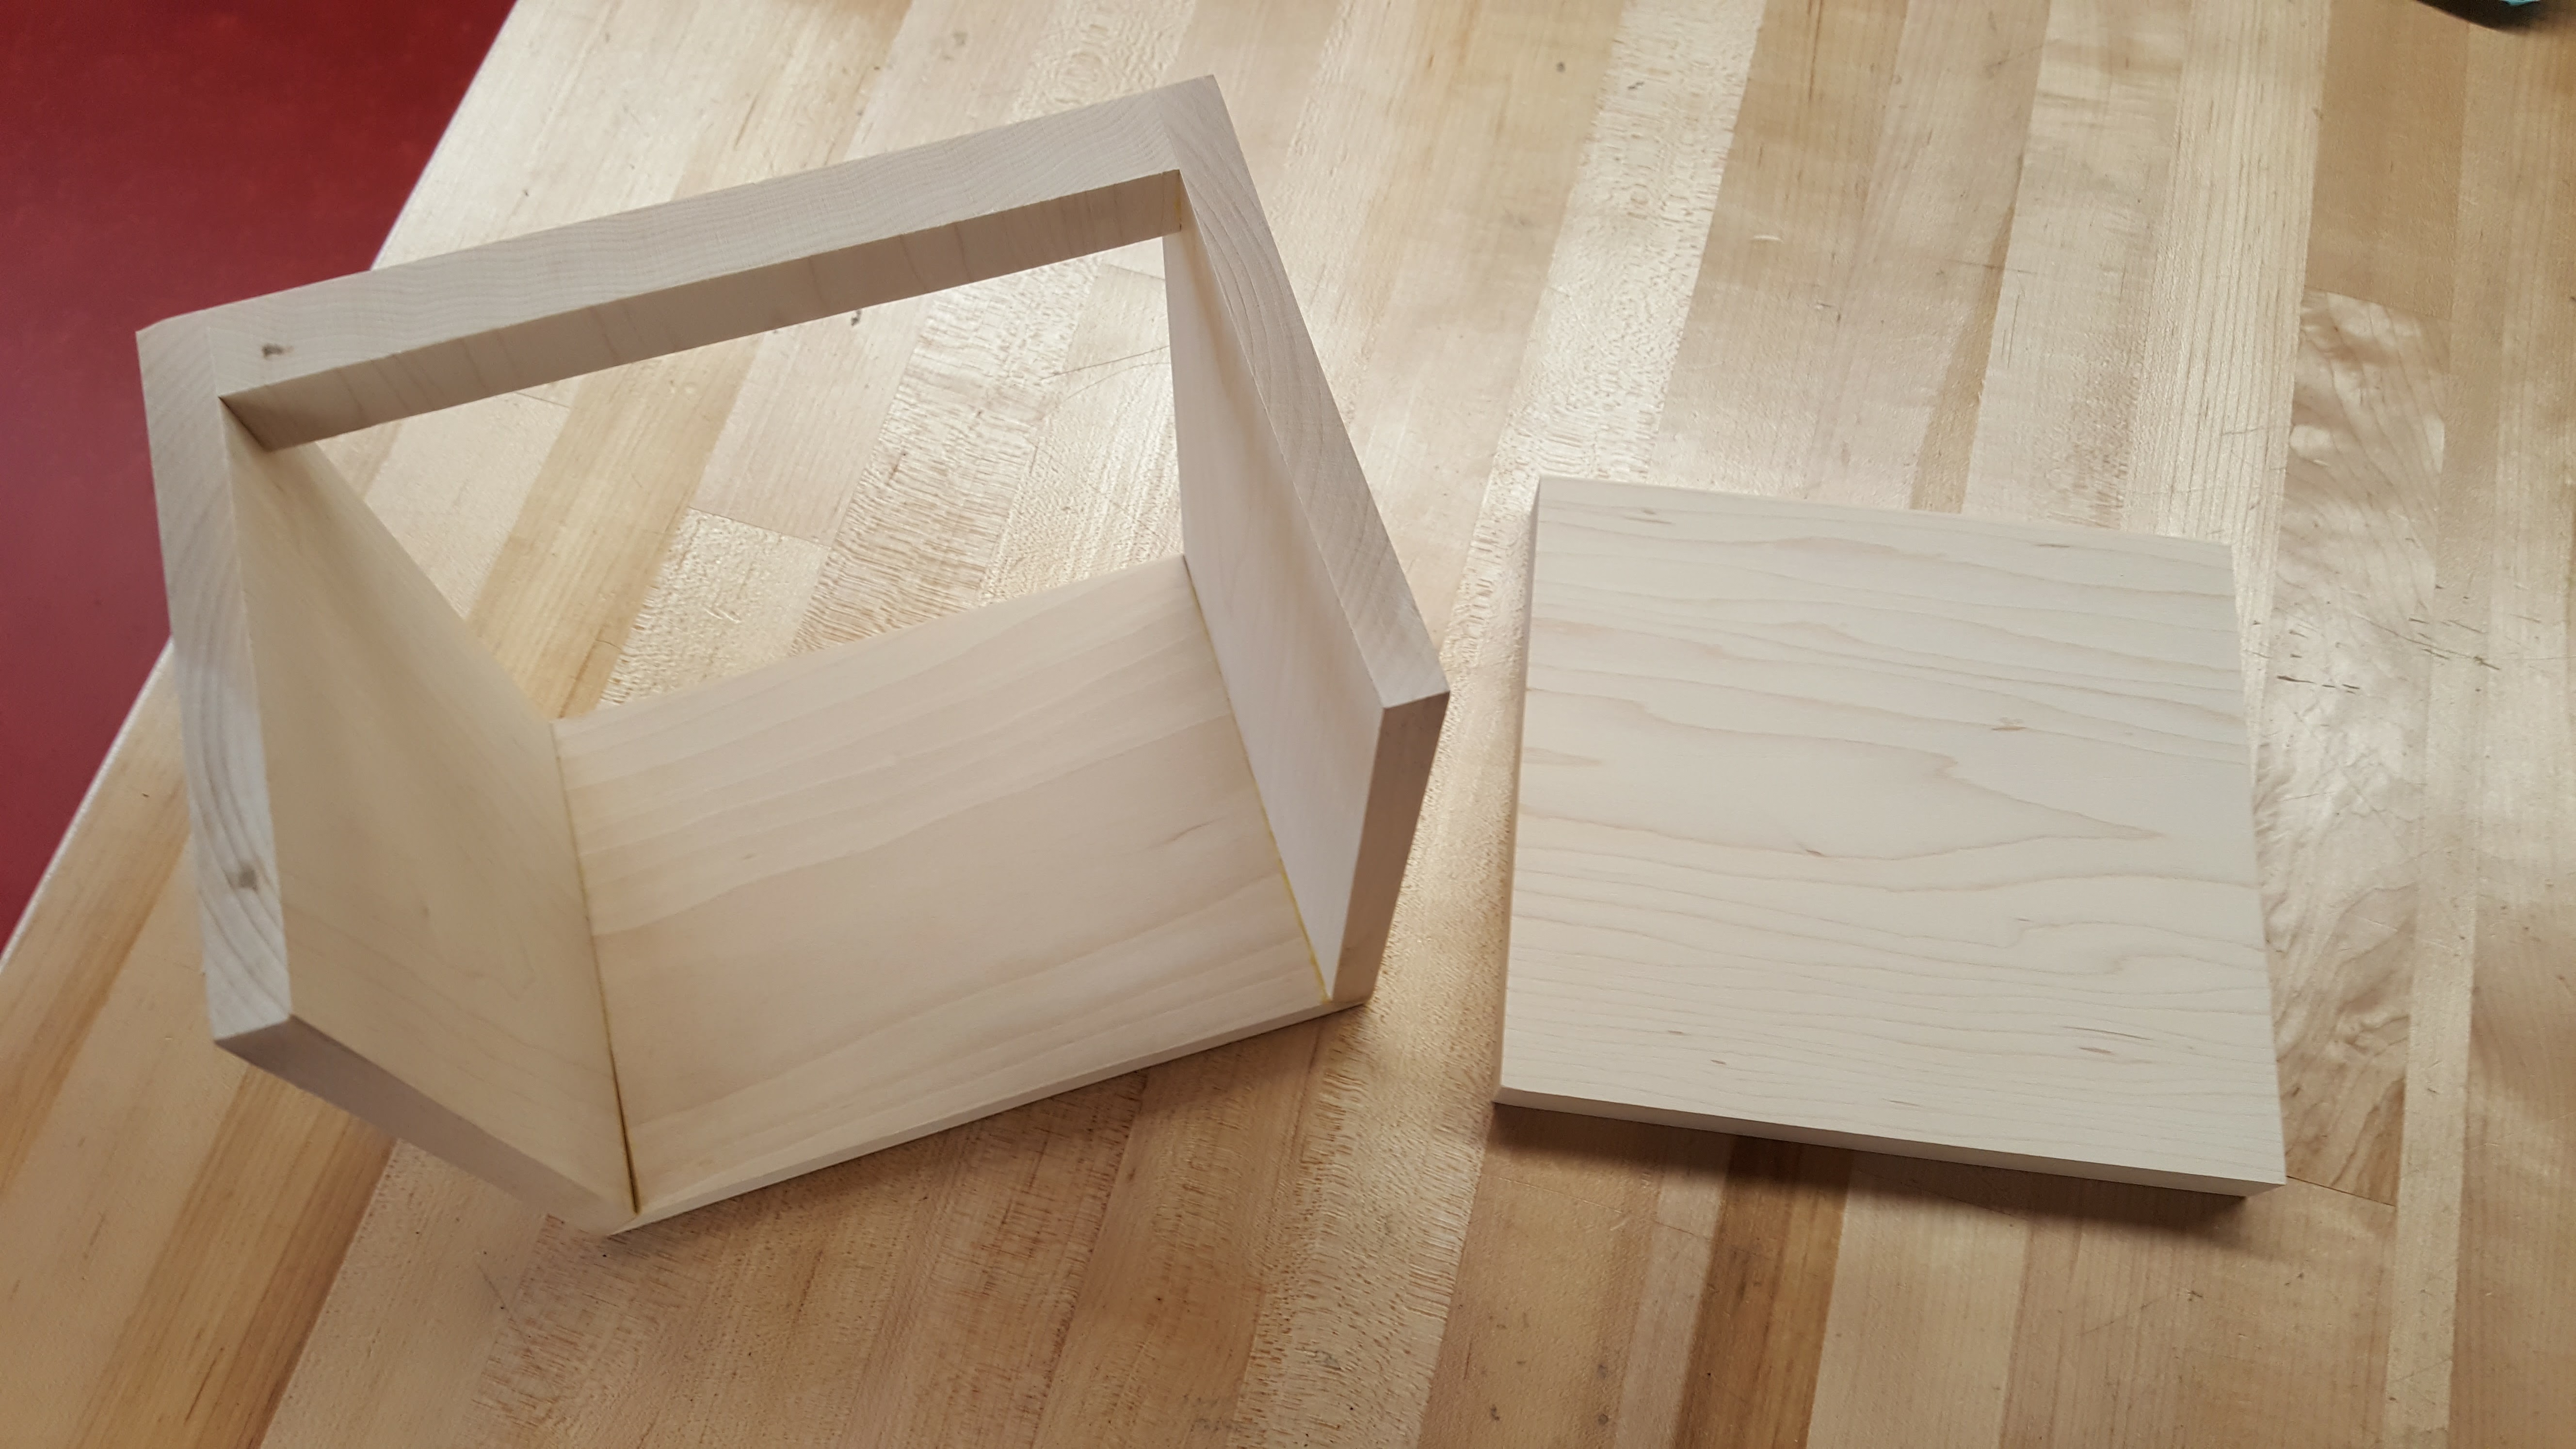
Once I got everything working, I built the final enclosure out of stained maple, and laser cut the top out of black acryllic (filling the etched words with white nail polish). Here are some various shots from the final construction.
Demo Videos!
This first video shows the first life of the prototype. Signal is generated using a sinusoidal function generator and traced on the oscilloscope, then is sent through the tube transmitter. Signal received on handheld radio. Try to see if you can decode the message!
Here is a music test using the final design. An MP3 player sends an input to the radio, which transmits only when TX is pressed. Signal received on the handheld.